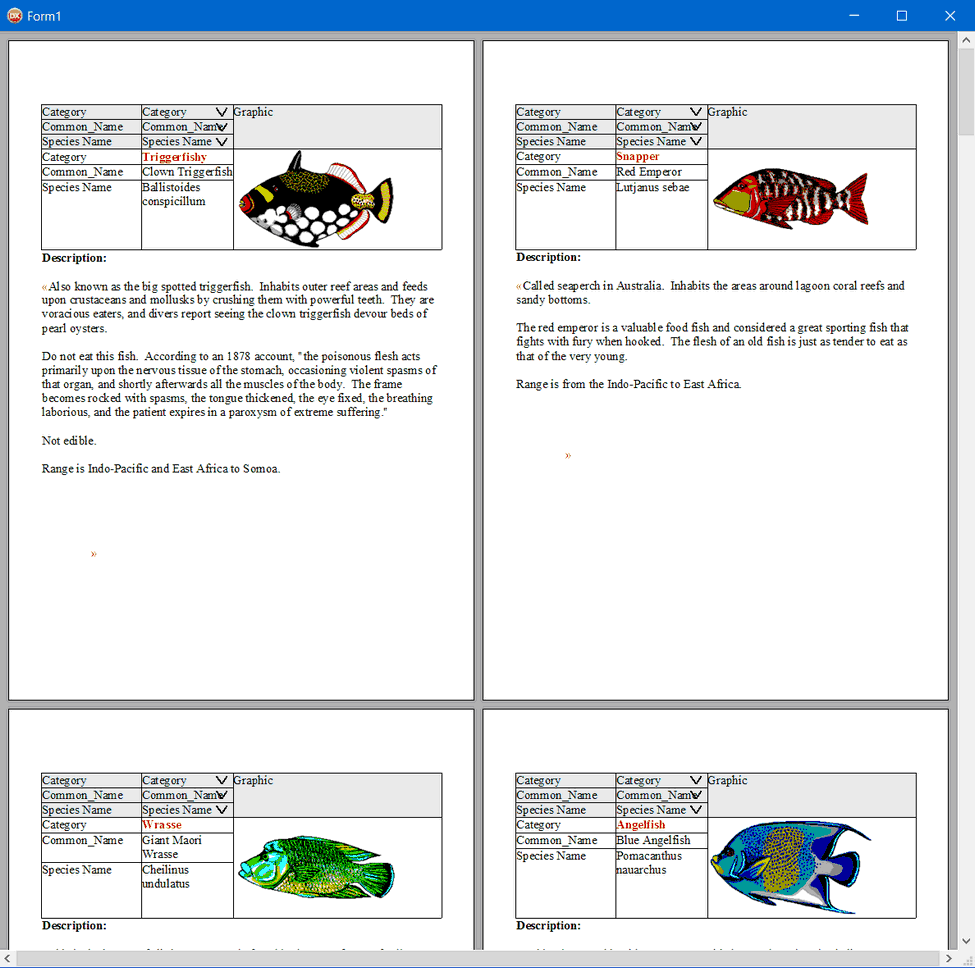
The style uses the standard WPCSS format to save the value. You can either edit the value manually (copy & paste) or use the property editor:
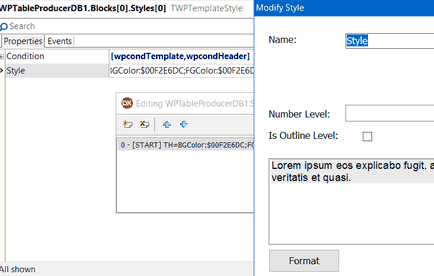
Now you can add items to the collection "Columns".
Each item represents a column in a table row. Using the property RowBreak it is possible to create multiple rows for one data record. Each cell can also have a style and various options.
It is possible to use col-span and row-span, to create additional cells with label of the field automatically etc. If a cell uses row-span, the control will automatically create filler cells in subsequent table rows.
The display text in the collection editor shows you information about the properties of a table column, row-span "r", row-breaks "/" and also the calculated column and row number.
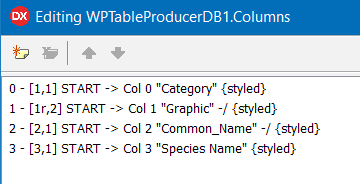
If you dataset is active and the property WPTextProducer.Active is also set to true, you can see the result directly in the connected TWPRichText.
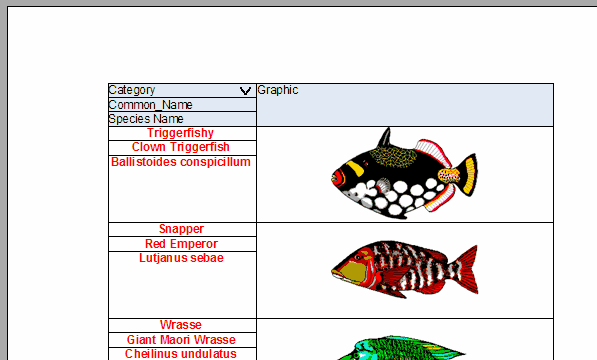
Block and Column collection description for this table:
Blocks = <
item
Name = 'START'
Styles = < Here we define the background for the header
item
Style.Strings = (
'BGColor:$00F2E6DC;FGColor:$00F2E6DC;')
Condition = [wpcondTemplate, wpcondHeader]
end>
TableOptions = [wptblActivateBorders, wptblCreateHeaderRow]
Columns = <
item
Name = 'Category'
Title = 'Category'
WidthPC = 40
Display the button to sort by this column
UIOptions = [wpcoCanSort, wpcoSortAlpha]
Styles = < This is the style for the data cell, not the header!
item
Style.Strings = (
'CharStyleMask:1;CharStyleON:1;CharColor:clRed;Alignment:1;')
end>
UpdateField = False
Use the field "Category" from the data source
FieldName = 'Category'
end
item
Name = 'Graphic'
Title = 'Graphic'
WidthPC = 80
Here we define a wide cell which should span 3 rows.
Options = [wpcoRowSpan]
A new row starts after this cell.
RowBreak = True
Styles = <
item
Style.Strings = (
'CharStyleMask:1;CharStyleON:1;CharColor:clRed;Alignment:1;')
end>
UpdateField = False
FieldName = 'Graphic'
end
item
Name = 'Common_Name'
Title = 'Common_Name'
WidthPC = 40
RowBreak = True
Styles = <
item
Style.Strings = (
'CharStyleMask:1;CharStyleON:1;CharColor:clRed;Alignment:1;')
end>
UpdateField = False
FieldName = 'Common_Name'
end
item
Name = 'Species Name'
Title = 'Species Name'
WidthPC = 40
Styles = <
item
Style.Strings = (
'CharStyleMask:1;CharStyleON:1;CharColor:clRed;Alignment:1')
end>
UpdateField = False
FieldName = 'Species Name'
end>
TemplateTextOptions = []
UpdateDataSourceLinkCursor = False
This is the name of the data-source link, not the
TDatasource. The data-source link makes it also possible
to link to datasources which are created when needed,
i.e. to provide pre-filtered or dynamic data.
DataSourceName = 'DSBIOLIFE_LINK'
end>
You can also experiment with the flags in property ViewOptionsEx:
[wpInvertActiveRow] will invert the row the cursor is currently in.
You can also add an additional row template to the collection blocks. The name can be referenced in the template named "START" using the property ClientName. If the second row is referencing the same data source link, the engine will take care, that the database cursor is not touched when entering the client template and only one row (the current) will be processed.
But it can be also a different data source link, this will then be seen as the sub-rows for the master rows defined in "START".
It is also possible to include a mail-merge document with the block description.
Please use the property editor of the property TemplateText.
To insert fields use menu item: Insert Mailmerge Field
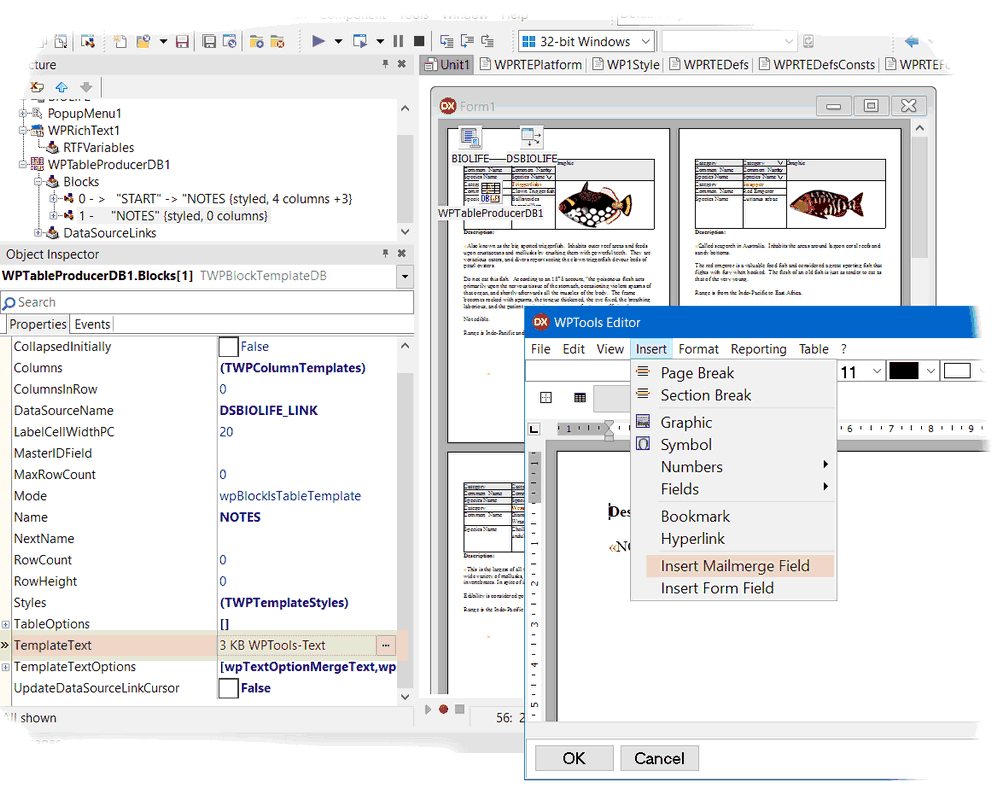
This text will be displayed before the actual template rows. If you also need mail-merge use the respective flags in property TemplateTextOptions, i.e. [wpTextOptionMergeText]
If you use wpTextOptionPageBreakAfter you can force a bagebreak after the block.
Or change the LayoutMode:
This is the double side layout mode with ViewOptionsEx = [wpDualPageViewStartsLeft], also using a merge template to embed the notes.
