1) Install in toolbox:
In the dialog "Select Toolbox Elements" please select "Browse" and find the DLL
WPTDynInt3.DLL
Note: In Visual Studio 2005 please use WPTDynInt2.DLL.
2) Add reference in project:
Select file WPTDynInt3.DLL. It must be listed under "References".
In the properties of Your Project, under "Debugging", please make sure to deactivate the "Visual Studio Hostingprocess"!
3) In Project set path to editor DLL: (not required with TextDynamic demo)
WPDLLInt.SetDLLName(Application.StartupPath + @"\WPTextDLL01.DLL");
The DLL must also be copied to the project binary directory.
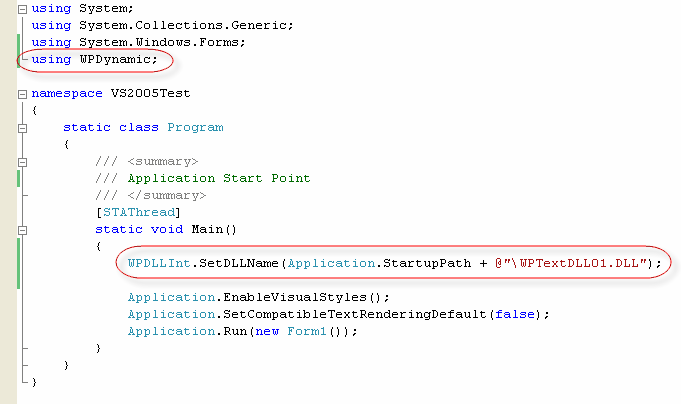
Note: We call the static method SetDLLName() of the Interface to set the path to the DLL as early as possible.
WPDLLInt.SetDLLName( ... )
This should happen before InitializeComponent().
4) Add Licensing Information: (not required with TextDynamic demo)
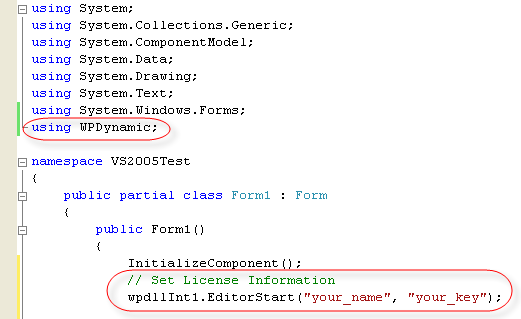
Here we use the method EditorStart() of the TextDynamic control.
wpdllInt1.EditorStart(...)
5) Set Editor mode and select GUI elements
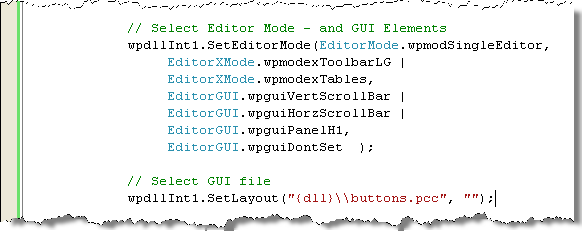
Here we use first use SetEditorMode() and then SetLayout().
The file buttons.pcc contains the XML code for the toolbar, the images for the toolbar and also the strings to localize the dialogs.
It can be edited using the PackageEditor.
6) When using VS2008 or later please select x86 (NOT "AnyCPU") as target platform:
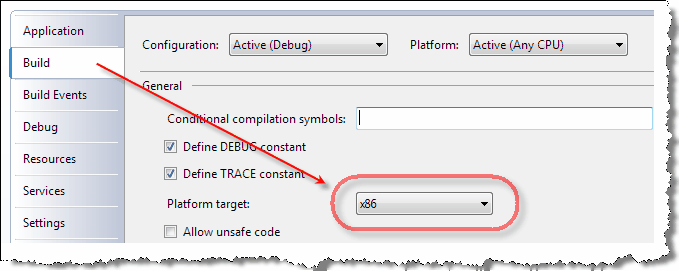
Please also see the C# sample project.